
I’m kicking 2021 off with this post about my biggest 2019 project!
In 2019 I stepped back from sewing and got to work learning carpentry, something I’d wanted to learn for years. My biggest project? A remodel of our office closet shelves. I wanted floating shelves that would span the 7 foot wall that would ALSO support hundreds of pounds in photo albums.
While this walk-in closet is in our office, I wanted to retain the ability to hang clothes in it should that be desired, so I designed it to have four shelves along the longest wall and just one along the short wall so that a clothing rod could be added.
I chose heights for the shelves that would accommodate my biggest photo albums and the rubbermaid tubs I use for yarn storage. The best part of making your own shelves is being able to customize the height for your specific storage needs!
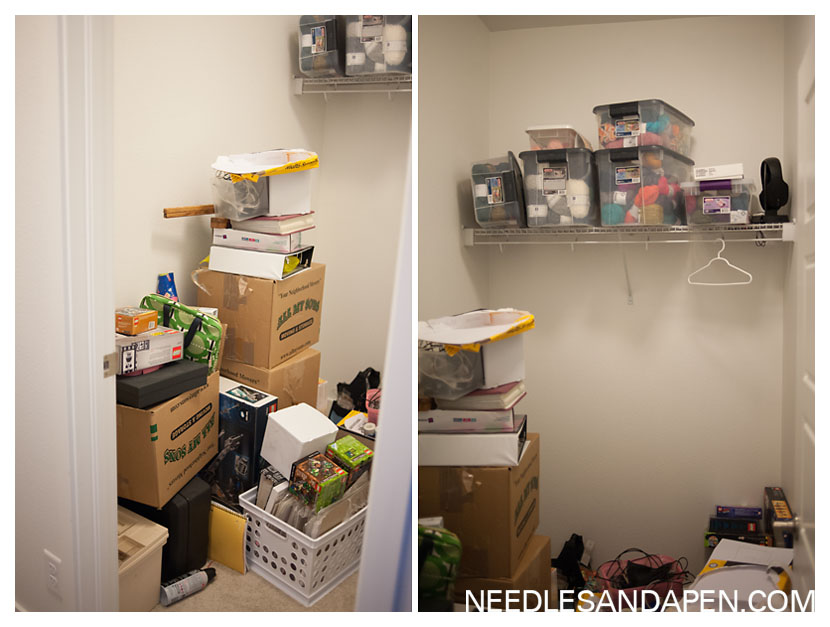
BEFORE:
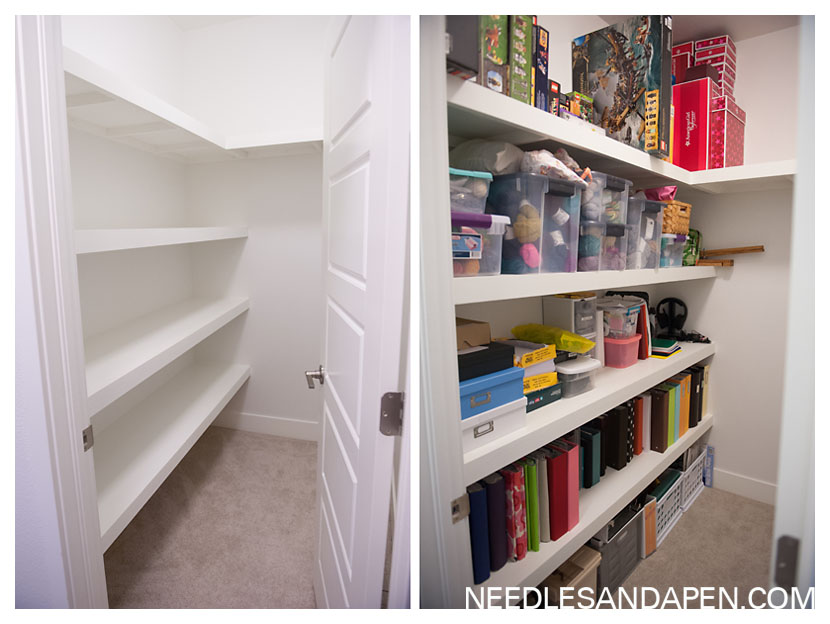
AFTER:
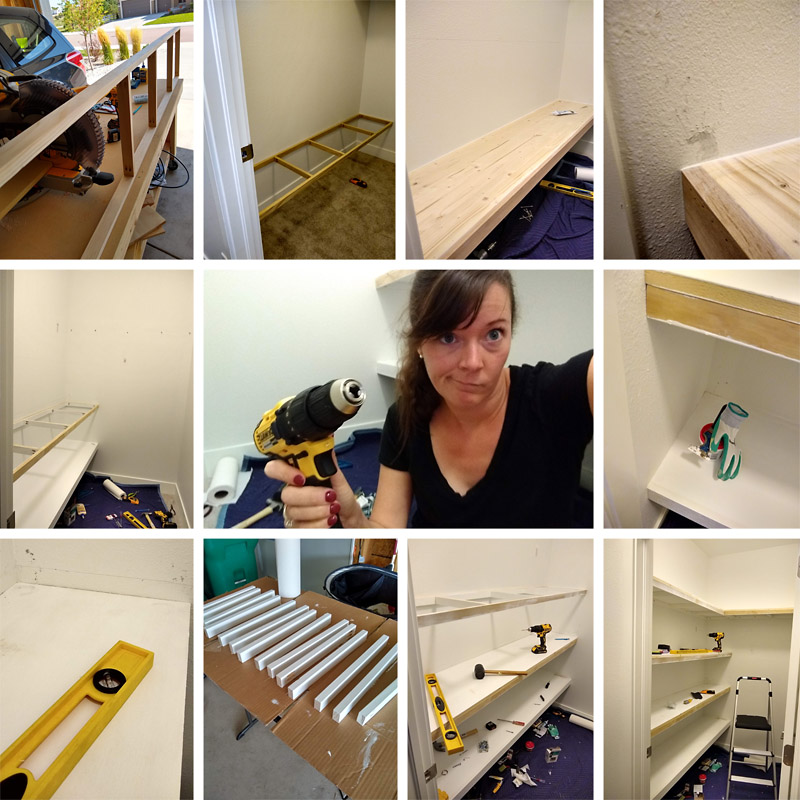
I spent most of September 2019 working on this project, which offered a lot of opportunities for frustration, swearing, learning, and triumph.
There were some delightful moments of hilarity, too, like when I used the paint our builder left us with the label “bathrooms/closets” to touch-up the walls of this closet. Our builders’ gifts just keep on giving. 😛
I spent a considerable amount of time online trying to learn how to make such a long floating shelf (7 feet) that could support such a heavy load of photo albums without sagging. A couple of things that really helped:
- Adding a lip to the front of each shelf. I’d originally planned to simply caulk and paint the front of each shelf, but adding a hickory (for maximum strength) front lip made a HUGE difference in its stability. These suckers are STRONG.
- Using brad nails to secure the top of each shelf to its frame. I was shocked at how noticable the difference was.
If you stick a level on the bottom shelf, it DOES bow a tiny bit in the center, however after after over a year of being heavily loaded, the deflection hasn’t grown any larger and it remains super strong. While everything online would tell you it’s probably futile attempt such a long span of floating shelves for books (and especially not exceptionally heavy photo albums), I’m glad I went for it! This closets holds a TON now–I was able to move a lot of items from our storage room into it!
While the construction held its challenging moments (I hate the wall anchors I used on this project and found it very difficult to reliably get the screw to thread back into its anchor), the hardest part was the painting. I *hate* painting. It’s so difficult to get things looking beautifully smooth!
One thing I *do* love, though, is DAP. It’s worth the time to caulk up the seams. It is the secret trick that takes something from looking DIY to looking professional. It’s basically the eyebrow filler of carpentry.
Here’s a little peek at the difference some DAP can make!