I am so excited about the skirt I made from the Central Park fabric line:
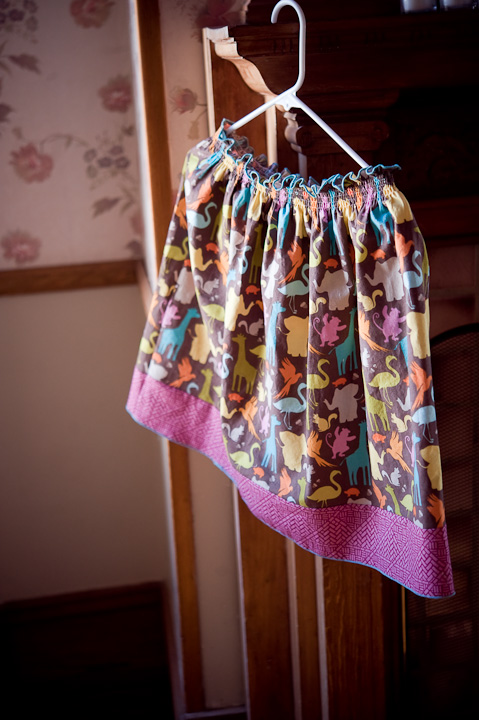
(Yes, it’s for me, not Ellie. The 7 year old next door was over while I was making it and he said “Is that another dress for Ellie?” and I said “No it’s for me” and he said “Are you sure?” Which is pretty much how Nic feels about the fabric, too. BUT, once it was all done and I put it on and was checking it out in the mirror the neighbor boy was all about it. He said “That looks so good on you” at least three times and the awe in his voice was totally genuine. But then again, my winter wardrobe makes me look like a lesbian trucker, so a little skirt was bound to elicit a little awe.)
This is probably the easiest skirt in the world you could ever make. Thanks to my serger, it has a rolled hem at the bottom and top, so it’s pretty much as cheater as you can get. It also met my criteria for fabric usage: I have a bunch of fabrics that I have 1 yard of. I love the fabric and want to make a skirt out of it, but 1 yard skirt tutorials are hard to come by, and the ones out there are all A Line skirts. I’m not a huge fan of basic A line skirts–if I’m going to use a fabric with a fun pattern (and I’m going to) I want it to be gathered and playful in style, too.
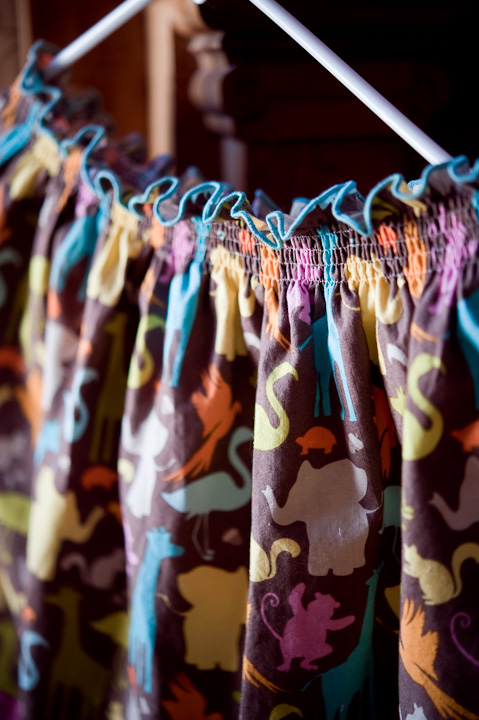
I think I mentioned that as I made Ellie’s “smocked” dress it dawned on me that it would be a great adult skirt. The next day I saw that Anna Marie Horner had posted a tutorial for making a smocked waist skirt. I thought her method would be the same as mine, but when I checked it out, it’s actually different. So…here’s the skinny on my skirt in case you want something even easier and more cheater-y.
Materials: 1 yard of fabric, (1/4 yard of accent fabric – optional), 1 spool of elastic thread
1) Fold your main fabric in half by bringing your selvedges together. Cut the fabric in half using your fold line. Now you have two pieces–each one is 36″x22.5″.
2) Optional: Cut your accent fabric into two 4″x36″ pieces.
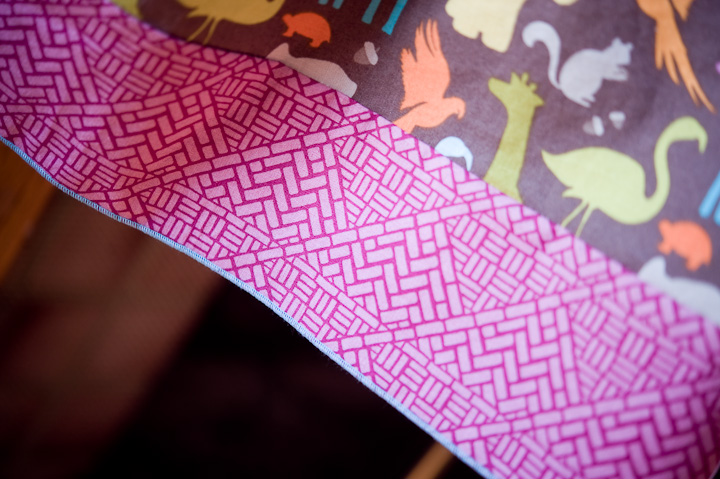
3) Optional: Using a serger or french seams, sew the accent fabric to the main fabric along the 36″ edges. You now have two pieces–the front and back of your skirt. (If you want your skirt a little shorter, you can trim your skirt panels down at this point. My skirt has a main fabric that is 18″ tall and an accent strip that is 3″ tall.)
4) Using the elastic thread and this tutorial, sew a row of the elastic-on-bottom, regular-thread-on-top straight stitches 1″ from the top edge of your front skirt piece. Making your rows 1/2″ apart (I eyeballed it for my skirt), sew four more rows for a total of 5 rows of stitches. Repeat with the back skirt piece. You’ll now have two shirred pieces.
5) With right sides together, sew one side seam.
6) Now comes the part where you stand in front of a mirror with a pin and find the right spot for the other side seam. Once you know how wide you want your skirt, turn the fabric rights sides together again and sew the other side seam. Almost done!
7) Using a serger and the rolled hem settings, hem the top and bottom raw edges. (I like to use a contrasting color with my rolled hems. Instead of looking like “okay–I cheated and am lazy and did a rolled hem” it’s all “hey! look at me and all my cute pop of color over here! I’m not lazy–I’m adorable!”)
In case you’re a visual person, I have some illustrations here. (Even though I rock at stick figures, I suck a little at tutorials/patterns, so if you want to make this and have any questions, just let me know!)

If you make something with this tutorial, I’d love to see it!








Meagan - I always love your fabric choices when you make clothing for yourself. We have the same taste, and it’s fabulous! Even if our husbands don’t agree ( :
Thank you so much for the shirring tutorial, or link to it, I have looked for smocking/shirring tutorials before and they have all been either confusing or very complicated. I can’t wait to try it out!
Beth Moore - I just giggled out loud at illustration #6. LOVE IT!!! Oh, and the skirt is super cute too!!
Vickie - I am so inspired to make this skirt now! What a beautiful piece! What can I do to make my hems look as beautiful as yours without a special foot or serger?
Thanks!
Traci - Unfortunately sergers really are necessary for that sort of look. Without a serger you’re limited to either a hand sewn rolled hem or a folded hem.
Tia - I love this! I so wish I had a serger, but when I make this, I can find another way to hem.